

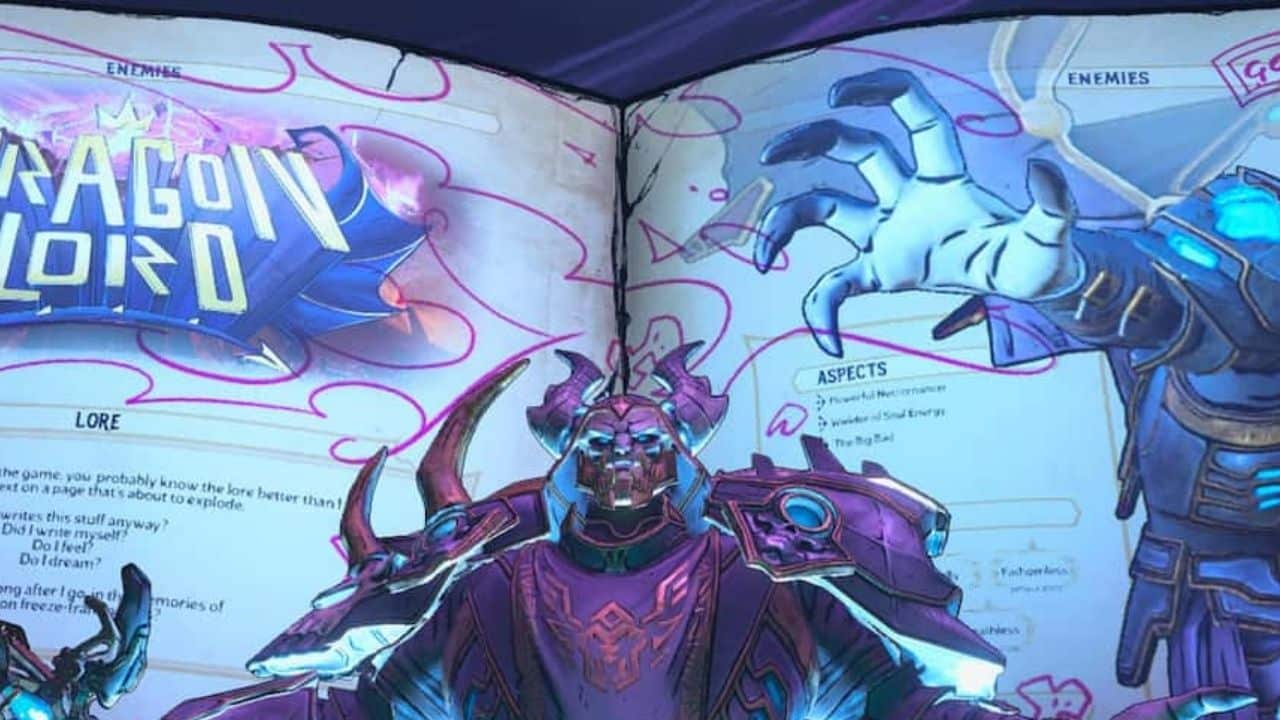
Bosses have always piqued the interest of hardcore gamers all across the world, especially if they drop some fantastic stuff in Tiny Tina’s Wonderlands, know the weapons needed for Dragon Lord
And if players want to level it up, earn money, and get Legendary Loot, they’ll need to do a lot of boss farming in the Borderlands series. Tiny Tina’s Wonderlands is no exception since it contains dozens of bosses that may be fought for fantastic stuff.
However, some of Tiny Tina’s Wonderlands’ bosses can be difficult to defeat. It’s no surprise that the last campaign boss is one of the toughest to defeat. That’s because The Dragon Lord has a number of gimmicks under his sleeves that can catch a player off guard, resulting in their death.
Tiny Tina’s Wonderlands How To Defeat Dragon Lord In-Game, Steps, Armor And Weapons List
How to Prepare for the Battle With The Dragon Lord?
Players will want to make sure they have the correct weapon and spell before heading up the portal to the boss encounter. The Dragon Lord begins with three bars: Ward, Armor, and HP, as players will notice. As a result, at least three Elemental Damage weaponry will be required: Lightning, Poison, and Fire.
However, players will encounter some smaller foes (Skeletons, Spectrals, and Wyverns) who have a grey bar sensitive to Frost Elemental Damage during the fight. Players should strive to use AOE-based spells when it comes to casting spells because there are constantly minions roaming the region and AOE spells are very good at crowd-controlling foes.
Last but not least, athletes must be mindful of their surroundings. Because the boss battle area isn’t extremely large, players can fall off and resume the boss fight phase. Furthermore, the tutorial will go over the three boss phases: Ground Phase, Flying Phase, and “Bernadette” Phase.
The Dragon Lord will remain on the ground during the first phase, only warping about the area after taking a specific level of damage. He’ll summon Shambling Skeletons during this phase, which players may easily dispatch with a powerful AOE spell or the Armageddon SMG. He’ll also have a number of different attacks that players ought to be careful of.
When a player’s HP bar is depleted. He will vanish for a brief moment before reappearing with new Armor and HP. He’ll be flying about the arena this time. And while he’ll keep some of his earlier attacks, he’ll also receive some new ones. During this phase, a crit-based build like the Mistdancer’s might be very useful.
Once the player has depleted The Dark Lord’s Armor and HP bar. He will summon Bernadette the Dracolich, a strong new ally. He’ll just have an HP bar during this last phase. But after taking a specific amount of damage, he’ll attach to Bernadette. Who the player must assault at that time.
When players defeat The Dragon Lord, he will spend cash and a large amount of high-quality stuff. In addition, players can loot eight chests by going into the hole in the centre of the arena.
The best aspect is that players can replay the combat as many times as they like. And the chests will always be available for looting. If players are having trouble defeating The Dragon Lord, they should try farming some Legendary Loot before trying again.
ALSO READ: IPL 2022: Shane Bond impressed by Mumbai Indians youngsters Tilak Varma, Dewald Brevis