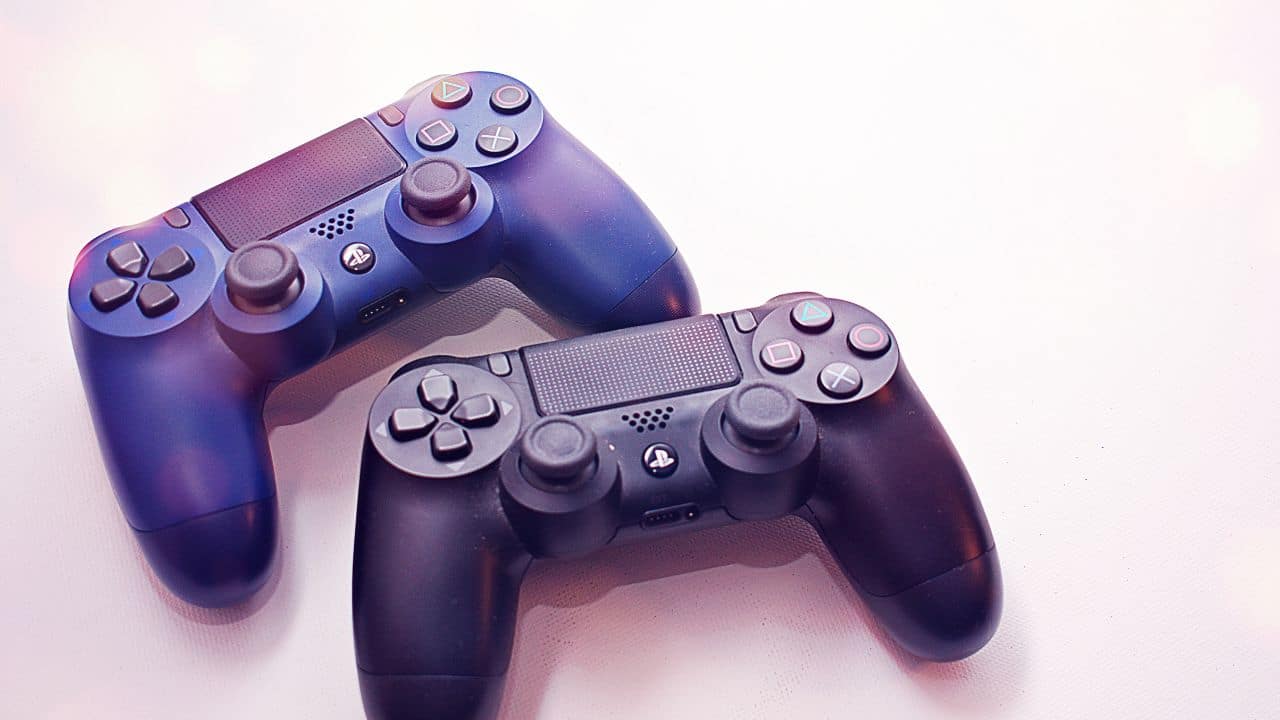
Many users are trying to find out more about the several ways to fix unstable PS5 controller drift and repair the problem
So, let’s find out everything about it.
It’s probable that after playing a lot of hard games, you’ll ultimately become overexcited and press down on the joystick in a specific way.
What Is The Unstable PS5 Controller Drift Problem And How To Repair And Fix It
It’s reasonable to become overly engrossed in a game, but using the controller roughly too much might damage its fragile internal components and lead to phantom inputs.
When this controller drift occurs, it increases annoyance and interferes with television, movies, and video games. Not only that, but it might also have an impact on how your PS5 functions.
That’s the biggest reason why many people are now trying to find out more about ways to fix it. So, let’s find out everything about it:
Soft Solutions To Fix The Controller Drift
Before attempting to open the controller and peek inside, there are a few gentle remedies you may try.
The recommendation to rotate the thumbstick while depressing the center is the most popular and also the least likely to be effective. That is comparable to blowing dust out of an N64 cartridge.
Another gentle fix for PS5 controller troubles is to use compressed air to spray into the creases surrounding the thumbstick. Dust and filth can also cause problems occasionally.
Other Solution To Fix It
It’s time to open up your controller if you’ve attempted the easy repairs but are still stumbling over the screen, which means you likely have a mechanical problem. Given the cost of PS5 controllers, this can be a terrifying thought, but if you have the correct equipment and patience, the fix is not too difficult.
So, let’s have a look at the below-given steps:
Step 1: To begin, take off the black cover that encloses the controller’s handles and thumbsticks. After being removed, use a plastic pryer to separate the two clips holding the left and right trigger buttons together.
Step 2: There are four screws visible once the cover and the trigger buttons have been removed: one in each handle and one in each alcove where the triggers were. After removing the screws, pull apart the clips along the controller’s side seam.
Step 3: There are four large clips: two are located on the side of the grips near the triggers and two are located lower down in the middle of the grips. Additionally, there are clips on the bottom, one on each side of the charging port. The front of the controller just comes out after all the attachments are removed.
Step 4: Be mindful not to rip or shatter anything within the controller at this point. To access the circuit board, first, remove the large grey battery from the middle and then detach the black panel that is directly below it. Fortunately, they are all the same size throughout, so keep track of the screws.
Step 5: The five flex wires must be carefully unplugged from the chip. They contain plastic inputs that you can detach with tweezers and have the appearance of amber-colored ribbons. The main board may now be removed from its clips and carefully flipped over to reveal the thumbsticks.
Step 6: Metal boxes contain thumbsticks. The drift is caused by the dirt particles that get in between the little plastic covers that line the edges of those boxes and the joystick. The plastic coverings should not be bent more than 45 degrees to the side as this may cause them to crack.
Step 7: Check to see if there are any damaged pieces after cleaning the interior with a q-tip dipped in isopropyl. If not, cleaning likely was successful, therefore all that’s left is to reassemble the controller.


